Posted: Friday, August 14, 2020

There’s nothing quite like returning to a cosy home at the end of the day. But suppose you don’t have enough radiators to heat your house or they’re too small to adequately warm the room they’re in. In that case, you’ll probably be considering installing a radiator to your existing system.
Fitting a new model to your existing pipework can boost the temperature of a cool room. But, there are several points to consider - read our guide to radiator installation to find out more!
Challenge Level: Hard
If you’re an experienced plumber, installing a radiator is an easy task that can be achieved in a day’s work. To the average DIYer, it poses a challenge. The pipework hidden beneath your floorboards will need to be adjusted and this can lead to leaks and even boiler failure if carried out incorrectly.
Specialist tools to cut, solder and seal the pipes, along with an understanding of different central heating systems, water pressure and extending radiator pipes are required. So, if in doubt, hire an expert!
Adding A Radiator To An Existing System - Points To Consider
The addition of a new radiator requires some thought. Answer the following questions before installing a radiator to your central heating system.
The amount of radiators you can add to your central heating system depends on the size and power of your boiler. Add too many and your boiler may fail. If you need more radiators to heat your home but your boiler is too small, an upgrade is your first port of call.
Before installing a radiator to your existing system, check that your current radiators are working properly. If your heating is on but the heat output isn’t strong, a new radiator may not be the answer.
Read our previous blog, which explains why your radiators may be too cold, to find out more. Something as simple as bleeding your radiators could bring the heat back to your room!
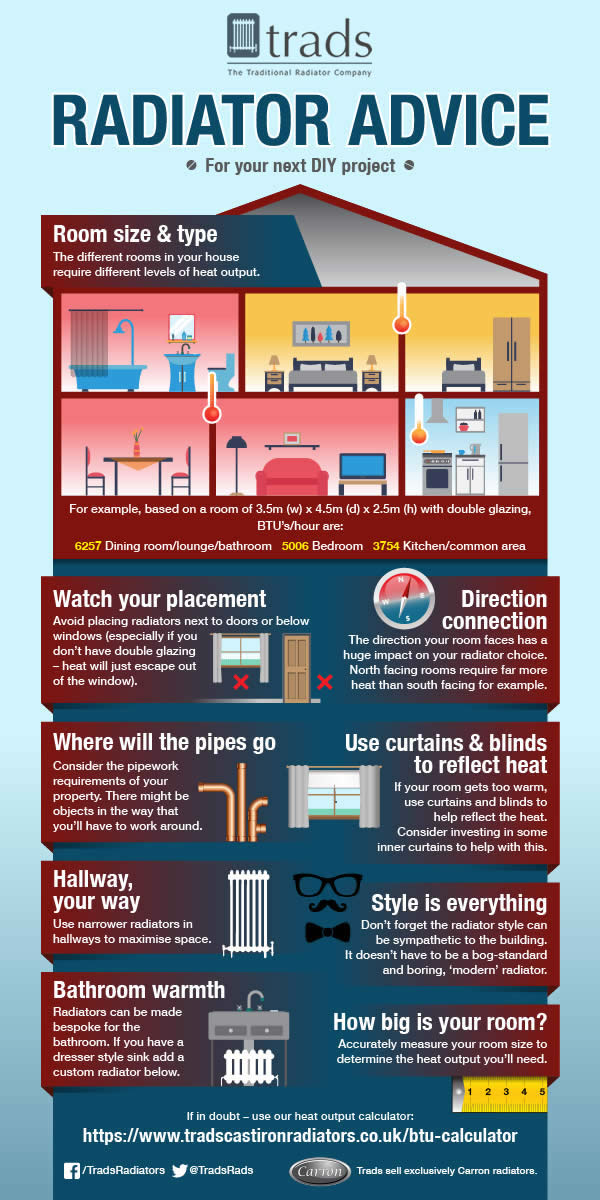
Once you’re confident that your current radiators are functioning properly and your boiler can support a new model, calculating the correct BTU output is essential. Remember - if the room is already home to a radiator, you’ll need to add together the BTUs of both models. Use our BTU calculator to ensure you’re ordering the right size radiator.
Most radiators are placed beneath windows, but consider where your new model will sit best in your room. For example, placing it opposite an existing radiator could eliminate a cold spot. Also, take into consideration where your pipework is located as this will be needed when installing a radiator to your central heating system. Placing a radiator near your existing pipe run allows for easier installation without extending radiator pipes. Watch out for joists in the floorboards as these can cause problems when fitting new pipework!

Pictured: Chelsea 1 Column 675mm, 9 Sections - Hand Burnished
If you’re not familiar with fitting radiators, you probably need some questions answered. What tools do you need? What order do you do things in? Can you tee off an existing radiator? Trads is here to help.
Before you begin, make sure you have the right tools for the job:
Once you’re all set, follow this handy guide…
The easiest way to do this is to check your boiler as the flow and return pipes should be labelled. If you’re still unsure, turn on your central heating and feel the pipes to identify which one heats up first. Note - your pipes may be hot so approach this task with caution!
Ensure your radiators are completely cool before beginning the next step, as with any job regarding radiators.
Once cool, the water currently in the central heating system needs to be removed. The way this happens depends on the boiler you have. Typically, there is a drain-off valve at one end of your radiator. Turn off the power to your boiler and the water supply, attach a hose pipe to the drain-off valve and open it. The water will flow out through the hose and you can dispose of it somewhere safe. There may be chemicals and dirt within the water so we recommend placing the other end of the hose down a drain. All of the radiator valves should be open whilst draining the system, including the bleed valves.
Before installing a radiator, be sure you know exactly where you want it to be positioned and mark where you will screw the bracket onto the wall. Using a spirit level will ensure it is straight, giving you a professional finish. Leave about 125mm (5 inches) of space between the bottom of the radiator and the floor.
Once you’re happy with the position of the radiator, drill into the wall and secure the brackets. If you’re fitting a cast iron Victorian radiator, it may have a wall stay in place of wall brackets. Try to align a floor-mounted radiator so that the pipe will come through the middle of a floorboard rather than the edge. The image below will help with this process.
Before installing a radiator, fit its valves. First, wrap PTFE tape around the thread. This will ensure you have a strong seal, which will prevent leaks. A lockshield should be on one end and a thermostatic/manual valve at the other. It doesn’t matter which one goes at each end. Use an adjustable wrench to ensure a snug fit but avoid overdoing them. Screw in the bleed valve and at the top of the radiator and end cap in the same way.
Once you are sure everything is in place, hang the radiator on the wall by attaching it to the wall brackets or fixing the wall stay in place. Everything should now be positioned to allow you to run the pipework.
You may have already done this but, if not, lift up your carpet and floorboards to reveal the existing pipework. Mark the position the pipe will need to go through the floorboards to connect with the radiator valve. Drill a hole for it.
When installing a radiator, you need to measure the length of pipe needed to reach your flow and return pipes. Consult with a professional plumber if you’re unsure at this point! Always use a suitable pipe cutter to avoid problems down the line. Check that your seal is completely watertight with no stress points when soldering.
Can you tee off an existing radiator? Yes! Once your new pipework is running from the radiator to the flow and return pipes, join them together. Remove a section from both the flow and return pipes and add a tee join.
This is your final step. Connect the extending radiator pipes to the tee joints to add the radiator to your central heating system. When this is done, ensure all of your valves are tightly fitted and correctly positioned. The bleed valve should be closed and the flow valves open. Refill your central heating system and turn on the heating to check that the new model is working correctly. Review your work by checking for leaks in the pipework before replacing the floorboards and carpet. Remember to add some radiator inhibitors to the system to prevent blockages from damaging the new addition to your heating system.
Before installing a radiator in your home, take a look at Trads’ cast iron range.
Shop online or contact us for any assistance you may require.